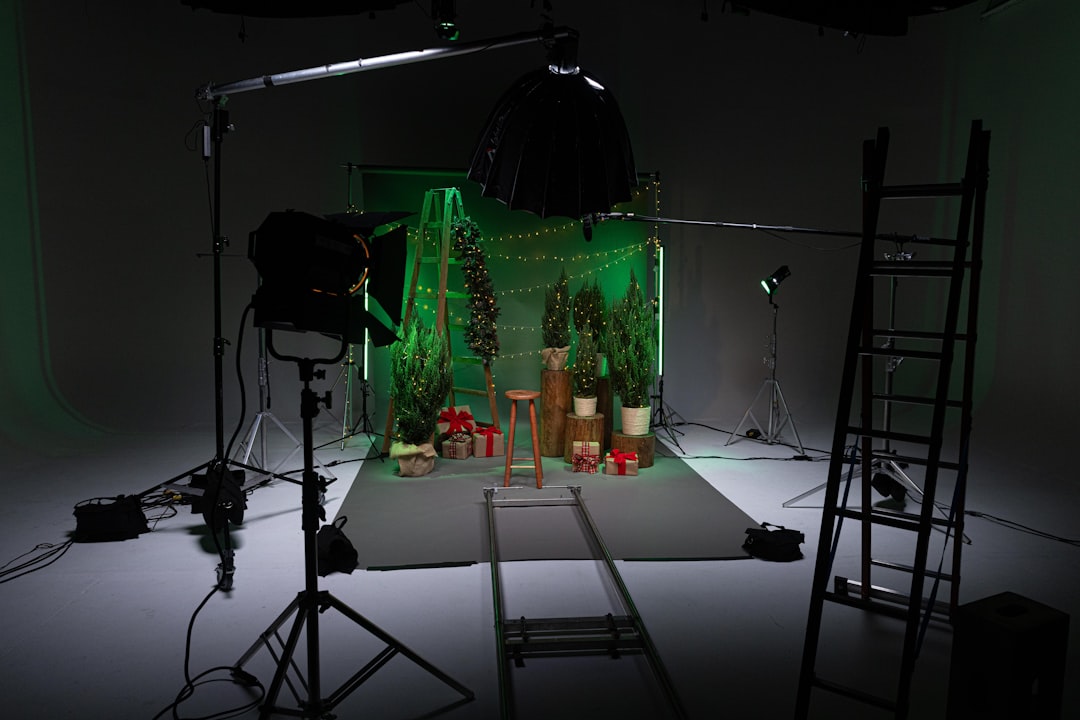
Light the green screen first, separately from the subject, and make it even before you touch the camera settings. A clean key starts with a flat green background, not with a stronger computer or a better editing plug-in. If the screen is patchy, wrinkled, glossy, or hit by shadows, the key will fall apart fast.
TLDR: Aim for an evenly lit green screen within about 0.3 to 0.5 stops from edge to edge, with the subject standing 6 to 10 feet in front of it. For example, a small interview setup often works well with two soft lights on the screen at 45 degrees and one separate key light on the person. If your screen reads 50 IRE in the center and 62 IRE in the corners, expect rough edges and extra cleanup. Fix the lighting before trying to fix the key in post.
Start with the screen, not the subject
The biggest mistake is treating the green screen like a normal background. It is not there to look nice. It is there to provide a clean, consistent color that software can remove with little damage to hair, skin, clothing, and motion blur.
Set your camera on a tripod. Frame the shot. Then light only the green screen. Turn off the subject lights for now. This makes it easier to see shadows, hot spots, falloff, and wrinkles.
Use soft light. Hard LEDs or bare bulbs create bright centers and dark corners. Softboxes, diffused LED panels, bounced light, or large fluorescent fixtures work better because they spread light smoothly.
Use two lights for an even background
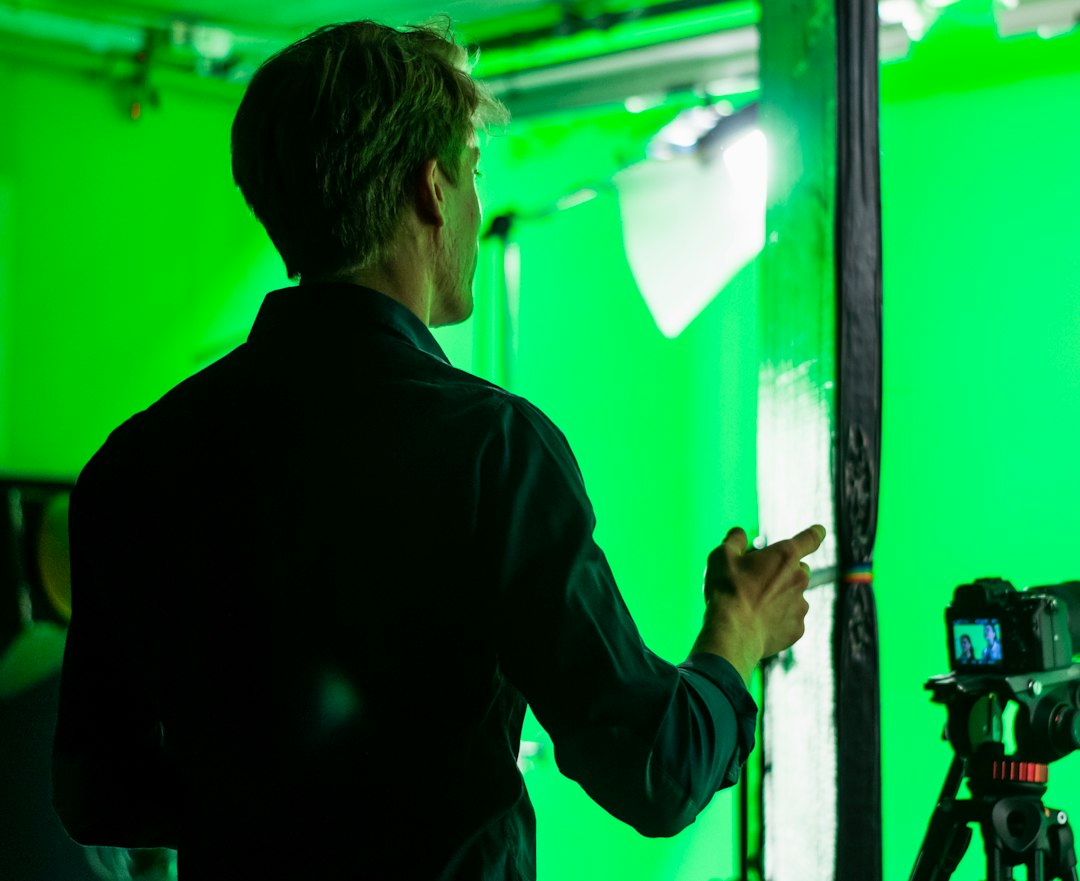
For most small studio work, place one soft light on the left side of the screen and one on the right. Aim each light across the screen at about a 45 degree angle. Do not point both lights straight at the center. That usually creates a bright middle and weak edges.
A useful starting setup:
- Two matching soft lights aimed at the green screen.
- Equal distance from each light to the screen.
- Equal brightness on both fixtures.
- No subject light hitting the screen if you can avoid it.
- No screen light spilling hard onto the subject.
Walk close to the screen and look across it from an angle. Uneven lighting often shows up better from the side than from the camera position. A phone camera can also help, but do not trust it completely. Use your main camera and exposure tools whenever possible.
Measure the green, do not just guess
Your eyes adapt too quickly. What looks even in the room can still be uneven on camera. Use the camera’s waveform monitor, false color, zebras, or a light meter if you have one.
On a waveform, the green screen should form a fairly narrow horizontal band. It should not zigzag wildly across the frame. Many cameras and monitors make this easy to see.
As a rough guide, keep the green screen around 40 to 60 IRE, depending on camera profile and exposure choice. Do not blast it too bright. Overexposed green loses color detail and can bounce onto the subject. Underexposed green gets noisy, and noise makes keying worse.
A practical target is simple: keep the screen within 0.3 stops if you can, and no more than 0.5 stops across the visible area. If one corner is much darker, move the light, add diffusion, or flag the stronger side until it matches.
Keep the subject away from the screen
Distance solves more problems than people expect. Put the subject at least 6 feet from the screen. Use 8 to 10 feet when the room allows it. This reduces green spill, keeps shadows off the screen, and creates cleaner separation around hair and shoulders.
Green spill is the ugly green tint that appears on skin, glasses, shiny fabric, and hair. It drives me crazy that people often try to remove it in software after spending three minutes placing the subject too close to the screen. Move the person forward first. That fix is faster and cleaner.
If the subject must stand close to the screen, reduce screen brightness and use flags or black fabric at the sides to block bounce. Also avoid glossy green paint or shiny green fabric. Matte surfaces key better.

Light the subject separately
After the screen is even, turn on the subject lighting. This normally includes a key light, fill light, and back light or hair light. These lights should shape the person, not repair the background.
A basic subject setup:
- Key light: placed 30 to 45 degrees from the camera, slightly above eye level.
- Fill light: softer and dimmer, used to reduce harsh shadows.
- Back light: placed behind or above the subject to separate them from the screen.
The back light matters. It creates a clean edge around the head and shoulders. Use a neutral or slightly warm tone. Avoid green-tinted light. If the back light hits the green screen, flag it or adjust the angle.
Control shadows and wrinkles
Wrinkles are not harmless. They create darker folds and brighter ridges. The keyer sees those as different greens. Stretch fabric tight. Steam it if needed. If using a collapsible screen, check the edges where fabric often bends.
Shadows are worse. A shadow on the green screen can look like a separate color. Keep subject shadows off the screen by increasing distance, raising the subject lights, and taking care with light angles.
Use flags, grids, barn doors, or black foam board to control spill. Cheap black poster board can save a shot. It does not look fancy, but it works.
Set the camera for clean color
Lighting is only half the job. The camera must record enough color information for a clean key. Use the best codec available on your camera. If you can record 10 bit 4:2:2, use it. It preserves more color detail than 8 bit 4:2:0 footage.
Keep ISO low. Noise in the green channel makes the key shimmer and crawl. Use proper exposure instead of pushing shadows later. Set white balance manually. Auto white balance can shift during the take, which creates mismatched green from one moment to the next.
Use a shutter speed that suits the motion. Too much motion blur makes edges soft and semi-transparent. For standard speech, normal shutter settings are fine. For fast action, consider a slightly faster shutter, but test the look first.
Avoid clothing and props that fight the key
Do not wear green unless you want that part to disappear. Also watch for reflective jewelry, shiny glasses, sequins, metallic props, and glossy black clothing. These can reflect the green screen and confuse the key.
Fine hair, lace, smoke, glass, and motion blur are also harder to key. They are not impossible, but they need cleaner lighting and better recording quality. If the project is paid or client-facing, test these things before the shoot day.
Check the key on set
Do not wait until editing to learn that the footage is broken. Pull a quick test key on set if possible. Many monitors and live switchers offer a preview. Even a rough preview can reveal green spill, dirty shadows, and weak edges.
Expect to waste time on tiny software sliders if the lighting is uneven. A good key should not require aggressive settings. If you must crush edges, remove too much spill, or blur the matte heavily, the lighting probably needs work.
Professional green screen lighting checklist
- Light the green screen separately before lighting the subject.
- Use large, soft, matching lights for the background.
- Keep exposure even within 0.3 to 0.5 stops.
- Place the subject 6 to 10 feet from the screen.
- Use a back light to separate the subject from the green.
- Control spill with flags, distance, and lower screen brightness.
- Record in the highest quality codec available.
- Set manual white balance and keep ISO low.
- Test the key before filming the full take.
Good green screen work is disciplined, not mysterious. Even light, clean separation, controlled spill, and solid camera settings give the keyer what it needs. When those basics are right, the edit is faster, edges look natural, and the final video feels professional instead of patched together.