Posting a video on YouTube is simple once you understand the flow, but doing it well takes a little planning. Whether you are uploading your first vlog, a tutorial, a product demo, a gaming clip, or a short educational video, the process is more than just clicking “Upload.” A strong YouTube post includes a clear title, helpful description, attractive thumbnail, correct settings, and a publishing choice that matches your goals.
TLDR: To post a video on YouTube, sign in to your account, open YouTube Studio, upload your video file, and complete the title, description, thumbnail, audience, and visibility settings. Before publishing, review YouTube’s checks for copyright or restrictions and make sure your video looks good on both desktop and mobile. Once published, share it, monitor performance, and use viewer feedback to improve future uploads.
1. Prepare Your Video Before Uploading
Before you open YouTube, make sure your video is ready. This step saves time and prevents mistakes during publishing. Watch your video from beginning to end and check for audio problems, awkward cuts, spelling errors in captions or graphics, and anything you may want to remove.
YouTube supports many common video formats, including MP4, which is usually the safest choice. For best results, export your video in high resolution, such as 1080p or 4K, if available. Good lighting, clear sound, and a clean edit can make a big difference in how viewers respond.
- File format: MP4 is recommended for most creators.
- Resolution: 1080p is a strong standard; 4K is ideal when available.
- Audio: Make sure voices and music are balanced.
- Length: Keep the video as focused as possible.
- Branding: Consider adding an intro, outro, or consistent visual style.

2. Sign In to YouTube
Go to YouTube.com and sign in with the Google account connected to your channel. If you do not have a channel yet, YouTube will prompt you to create one. Choose a channel name that fits your identity, niche, or business. You can change it later, but it is better to start with something clear and memorable.
Once signed in, click your profile picture in the top-right corner. From there, select YouTube Studio. This is the control center for uploading videos, managing content, reading comments, viewing analytics, and adjusting channel settings.
3. Start the Upload Process
Inside YouTube Studio, look for the Create button, usually shown as a camera icon with a plus sign. Click it and choose Upload videos. You can then drag and drop your video file into the upload window or select it from your computer.
While the video uploads, YouTube will guide you through several sections. You do not have to wait until the upload is fully finished to begin adding details. This is a good time to carefully fill out the information that helps viewers and YouTube understand your content.
4. Add a Strong Title
Your title is one of the most important parts of your video post. It should be clear, accurate, and interesting. Avoid vague titles like “My New Video” unless you already have a loyal audience that knows what to expect. Instead, describe what the viewer will get.
For example, instead of writing “Camera Tips”, try “5 Simple Camera Tips for Better YouTube Videos”. This title tells viewers the topic, the benefit, and the format. Keep your title natural and avoid stuffing it with too many repeated keywords.
5. Write a Useful Description
The description gives context to your video. The first few lines are especially important because they appear near the top before viewers click “Show more.” Use that space to summarize the video and include any important links or calls to action.
A good description might include:
- A short summary of what the video covers.
- Helpful links mentioned in the video.
- Social media or website links, if relevant.
- Timestamps for longer videos.
- Credits for music, images, or collaborators.
If your video is educational, timestamps are especially useful. They let viewers jump to the sections they care about, which can improve the overall viewing experience.
6. Choose or Upload a Thumbnail
Your thumbnail acts like a mini poster for your video. YouTube may automatically generate thumbnail options from your video, but a custom thumbnail usually performs better. It should be visually clear, easy to read, and relevant to the content.
Use bold imagery, expressive faces when appropriate, and only a few words of text. Avoid misleading thumbnails, because they may attract clicks at first but can hurt trust and watch time if viewers feel tricked.

7. Select the Audience Setting
YouTube requires you to say whether your video is made for kids. This is not the same as asking whether children might watch it. It specifically refers to whether children are the intended audience. Choose carefully, because this setting affects comments, personalized ads, notifications, and other features.
If you are unsure, review YouTube’s guidance on child-directed content. For most general content that is not specifically made for children, you will select No, it’s not made for kids.
8. Add Tags, Category, and Other Details
Tags are less important than they once were, but they can still help YouTube understand misspellings, alternate names, or related topics. Add a few relevant tags, but do not overdo it. Focus more on your title, description, thumbnail, and actual video quality.
You can also choose a category, such as Education, Entertainment, Gaming, Music, or How-to. If your video has paid promotion, sponsorships, or product placement, disclose it in the appropriate section. Transparency helps keep your channel trustworthy and compliant with platform rules.
9. Use Playlists and End Screens
If you already have related videos, add your new upload to a playlist. Playlists encourage viewers to watch more than one video and help organize your channel. For example, a cooking channel might have playlists for breakfast recipes, quick dinners, and baking tutorials.
YouTube may also allow you to add end screens and cards. End screens appear near the end of your video and can point viewers to another video, playlist, or subscription button. Cards can appear during the video and link to related content. Use them thoughtfully so they support the viewing experience rather than interrupt it.
10. Complete YouTube Checks
Before publishing, YouTube will run checks for copyright and certain restrictions. If the system detects copyrighted music, video clips, or other protected content, you may see a warning or claim. A copyright claim does not always mean your video must be removed, but it can affect monetization or visibility.
Review any issues carefully. If you used licensed music or original media, make sure you have the right permissions. If something is incorrect, YouTube may offer options to dispute, trim, mute, or replace the affected section.
11. Choose Visibility: Private, Unlisted, or Public
Now it is time to decide who can see your video. YouTube offers several visibility options:
- Private: Only you and selected users can view it.
- Unlisted: Anyone with the link can watch, but it will not appear publicly on your channel or in search.
- Public: Anyone can find and watch it.
- Schedule: The video becomes public at a future date and time.
If you want to review the video before launching, choose Private or Unlisted first. If you are planning a release, scheduling is a smart option because it gives you time to prepare social posts, email updates, or community announcements.
12. Publish and Share Your Video
Once everything looks right, click Publish or schedule the video. After it goes live, copy the link and share it where your audience is most active. This might include social media, your website, an email newsletter, online communities, or a messaging group.
When sharing, do not just drop the link. Add a short reason for people to watch. For example, explain what they will learn, why the video matters, or which problem it helps solve. A thoughtful introduction is more inviting than a plain URL.
13. Monitor Performance After Publishing
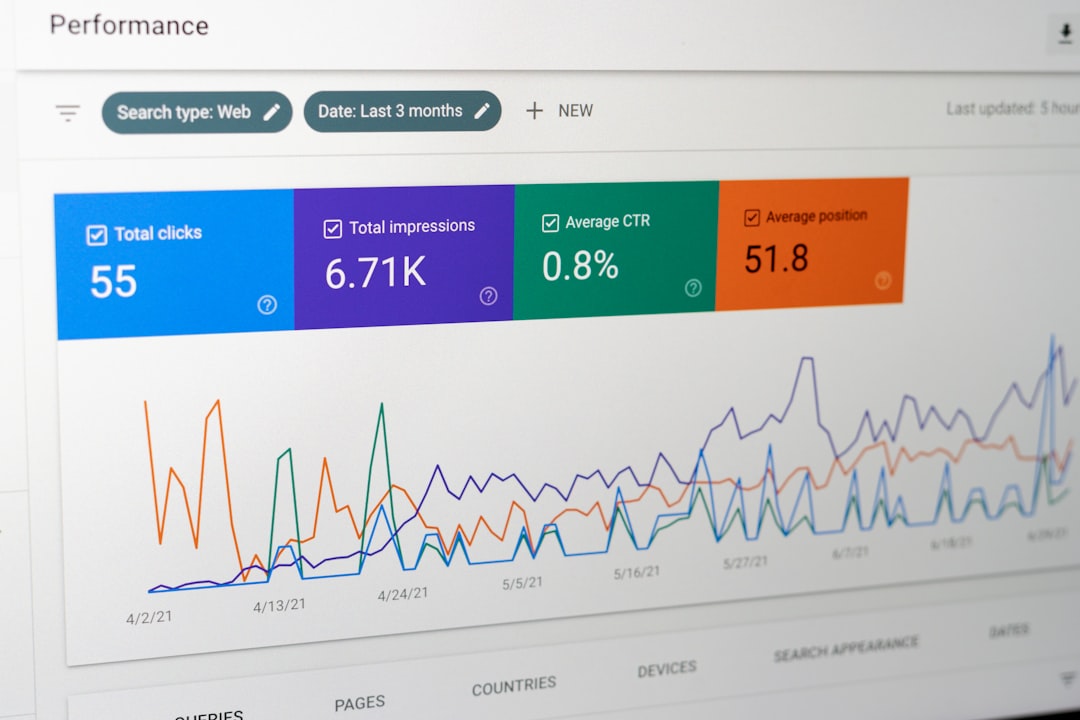
Posting the video is only the beginning. In YouTube Studio, check your analytics to see how people are responding. Important metrics include views, click-through rate, average view duration, audience retention, and traffic sources.
If people click but leave quickly, your title or thumbnail may be promising something the video does not deliver. If people watch for a long time but few click, your thumbnail or title may need improvement. Treat every upload as a learning opportunity.
Final Tips for Better YouTube Uploads
- Be consistent: Upload on a realistic schedule you can maintain.
- Hook viewers early: Explain the value of the video within the first few seconds.
- Keep improving: Study your analytics and adjust future videos.
- Engage with comments: Replying can build community and encourage return viewers.
- Stay accurate: Do not use misleading titles, thumbnails, or claims.
Learning how to post videos on YouTube is easy, but learning how to post them effectively takes practice. By preparing your file, optimizing your details, choosing the right settings, and studying performance after publishing, you give each video a better chance to reach the right audience. With every upload, you will become faster, more confident, and more strategic.